If you’ve ever wondered how to create a striking Damascus knife, you’re not alone. Crafting these layered blades involves selecting the right steels and forging techniques to form intricate patterns.
By mastering a few key steps, you can turn raw metal into a beautiful and functional piece of art.
Keep reading to see how the process unfolds from start to finish.
How to Choose the Right Steels for Your Damascus Billet?
Choosing steels for your Damascus billet requires pairing compatible alloys that weld reliably and produce good contrast. For beginners, a proven combination is 1084 or 1080 with 15N20. These steels have similar expansion behaviors, reducing the risk of cracking during forging. 15N20’s nickel content remains bright after etching, while 1084 etches dark, creating a striking pattern. Both steels share similar hardening and quench ranges, which simplifies heat treatment and minimizes cracks during cooling. For those seeking a reliable foundation, choosing a top butcher block can protect your knife edge during use. Stick to documented steel combinations rather than mystery alloys, as they deliver consistent results and avoid potential pitfalls. Using well-known steels ensures easier welding, predictable hardening, and a beautiful, reliable pattern in your Damascus blade. For those also seeking value in cutlery, selecting a well-regarded knife set can complement your handcrafted blade. And remember that any cutting surface you use with your finished blade should prioritize hygiene, as porous bamboo blocks can harbor bacteria if not properly oiled and cleaned, which is a key safety consideration for daily food prep.
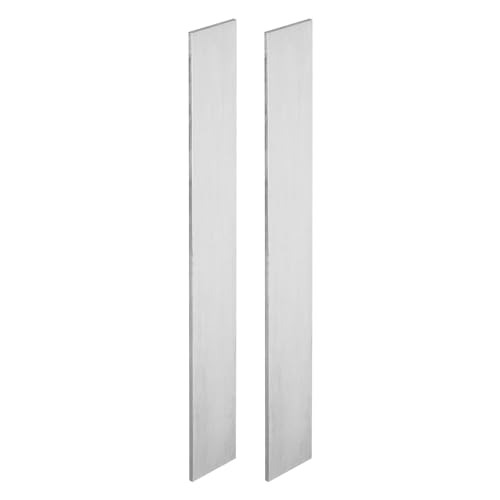
Size: The knife blanks for knife making Come with 2 pcs silver flat steel bars measuring 12" x 1 1/2" x 1/8"(304.8 x 38 x 3mm)(L*W*Thickness), much quantity can meet your need for knife making or DIY, you can use these knife scales blanks to make any shape of the knife as you want.

【Specification】12’’Length*1.5’’width* 1/8’’thickness. Total 10 packs included.

Damascus Steel Billet
Build and Forge Weld Your First Layer Stack
To build and forge weld your first layer stack, start with properly prepared metal faces. Grind all mating surfaces thoroughly to remove mill scale, rust, and any debris, ensuring a clean contact area. Degrease each piece to eliminate oils or contaminants that could prevent proper welding. Stack the pieces in an alternating pattern like 1084 and 15N20, and secure the assembly with tack welds at both ends. Attach a temporary rebar handle for safer handling during forging. Choosing a quality sharpening stone for your finished blade is also essential for maintaining its final edge. Always follow safety precautions: wear eye protection, gloves, and a respirator, and make sure your forge is well-ventilated. However, unlike cutting boards, plastic cutting boards are not recyclable due to their material composition and contamination. For those interested in finalizing the handle, reviewing options for high-quality handle materials can complement the blade’s performance. Heat the billet evenly to a bright orange-yellow color, around 2,300°F. Rotate it continuously during heating to ensure uniform temperature. When the metal reaches a glowing red, apply anhydrous borax flux, allowing it to melt fully as you reheat until the flux flows smoothly over the surface. Move quickly to the anvil and with a firm, overlapping strike, work from the center outward. Repeat this heating and forging cycle several times until the billet rings solid, indicating a strong bond and successful weld between layers.
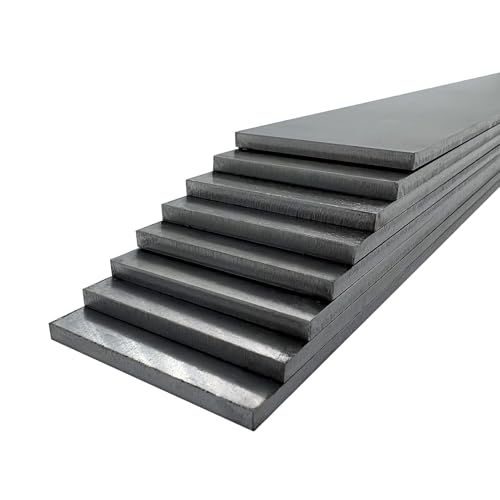
Size: Precise laser-cut dimensions of 12 “x1.5 ‘x0.12’ provide maximum utilization, and the 8-piece set can be used to make matching knives or to experiment with a variety of sharpening styles - from full-flat sharpening for kitchen knives to hollow-sharpening for tactical blades.

Adequate Quantity: you will receive 4 pieces of 15N20 steel bar stock, the ideal tool steel chosen by the tool manufacturer, sufficient quantity to meet your daily use and replacement needs

Exceptional material quality: crafted from steel for superior strength and durability,stainless steel strip,engraving blanks jewelry
Draw Out, Cut, and Restack for More Layers
To increase the layer count in your Damascus billet, start by drawing out the welded stack into a longer, uniform bar. This step allows you to create more layers as you go. Keep the billet hot enough through multiple heat cycles to ensure full welding and prevent delamination. Flatten the bar evenly to improve face contact during the next weld, which promotes thorough bonding between layers. Using a power hammer on the anvil helps set the layers efficiently while drawing out the billet. After forging, conditioning the wood surface with food safe mineral oil prevents drying and cracking. A high-quality charcuterie board often uses a similar layering technique to bond contrasting wood strips for visual appeal. Selecting a knife set with a block that prioritizes quality and performance can also guide your choice of steel for the final blade.
Next, cut the drawn billet into equal sections, aiming for a 3× increase in layers with each cycle. Carefully grind the cut faces to remove any scale, debris, and oxidized material; clean surfaces are critical for strong welds. During re-welding, apply flux to help dissolve remaining oxides and promote fusion.
Restack the sections, then forge-weld them back into a single billet. Each cycle of cut, grind, and restack multiplies the layers rapidly—for example, a 7-layer billet becomes 21 layers after one restack. It’s important to plan your target layer count cautiously because while more cycles create complex patterns, they also increase the likelihood of weld failure. Proper technique and patience are essential for building a multilayered Damascus billet successfully.

FOOD-GRADE MINERAL OIL FOR CUTTING BOARDS: Helps restore and protect dry cutting boards, butcher blocks, and wooden kitchen surfaces. Refreshes dull, worn wood and helps prevent cracking or splitting; works on bamboo, teak, acacia, olive wood, and hardwood boards

NSF CERTIFIED FOOD GRADE - This premium mineral oil is NSF certified and lab-tested to meet the strictest food safety standards. Colorless, odorless, tasteless, and gluten-free — perfect for cutting boards, butcher blocks, and all food-contact surfaces.
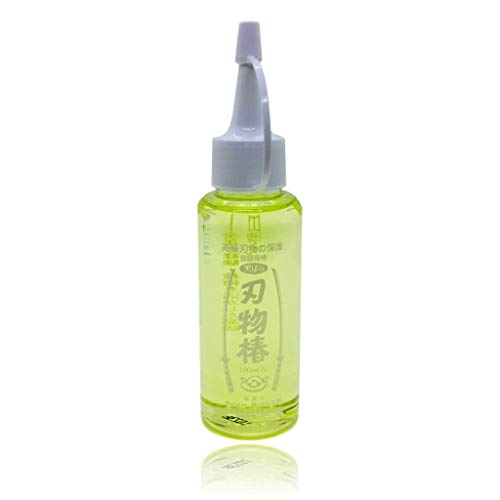
Prevents rust on various carbon steel products such as knives, scissors, sewing machines, gardening tools, etc.
Pattern Manipulation Techniques for Damascus: Twisting, Laddering, and Tiling
To create compelling patterns in damascus, you can manipulate the billet through twisting, laddering, and tiling. Each technique produces a distinct visual effect and requires specific steps.
For twisting, heat the bar to welding temperature, then rotate it evenly to form spirals. Tighter twists result in dense, tight coils, while gradual rotations create more open, relaxed patterns. Flatten the twisted billet and etch its surface to reveal the contrast between the woven layers. Be cautious not to over-rotate, as excessive twisting can weaken the metal or distort the pattern. The visual contrast achieved here is similar to how careful material selection in charcuterie boards elevates their aesthetic and cost. Using a fine Arkansas stone for final honing can sharply define the etched layers. Understanding the characteristics of damascus steel helps predict how the pattern will hold up during use.
Laddering involves pressing or grinding grooves across the billet, then forging it flat. Appropriate staggering of the cuts improves the rhythmic appearance, but keep the grooves shallow enough to prevent them from vanishing during forging. This technique creates a pattern resembling a ladder or net when viewed from the surface.
Tiling requires slicing the end grain of the billet at an angle, rotating the pieces, and re-welding them together. This process forms geometric, mosaic-like patterns that repeat across the surface. Pay attention to alignment to ensure the tiles lock into a coherent design. The depth of the pattern depends on how much material you reduce during forging; too much forging can distort or obscure the pattern, so work carefully to maintain the intended design.

Use Canister Damascu to combine powder steel with other materials to produce more steel with different characteristics and make your knife more distinctive;
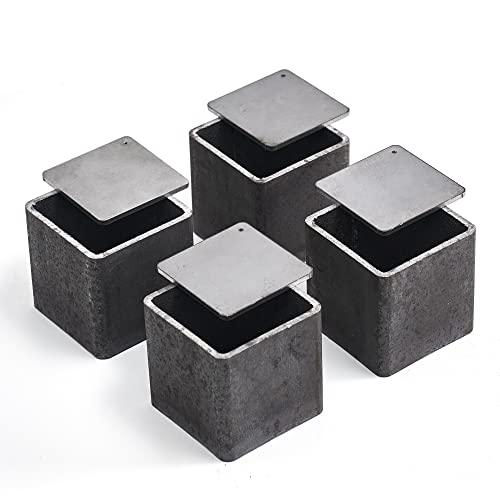
Use Canister Damascu to combine powder steel with other materials to produce more steel with different characteristics and make your knife more distinctive;

Enhance Your Forging Experience: whether you're a professional or an enthusiast, this 6 pack of Damascus steel tubes optimizes your forging session; From planning to execution, the package sets you up for meticulous, impactful work
Forge the Blade Shape Without Ruining Your Pattern
To forge a Damascus blade without ruining the pattern, keep the forge temperature below 800°C at all times. This prevents the carbide structure that creates the distinctive pattern from dissolving or distorting. Continuously monitor the temperature during forging because overheating even once can dissolve the carbide network, permanently damaging the pattern. Forging at these lower temperatures also mimics the controlled heat needed for tougher kitchen knives like a chef knife or santoku. Additionally, regularly applying a food safe oil to the finished blade helps protect the steel and maintain its clarity. For those curious about the origins of premium blades, understanding the consistent forging conditions at German Creek Knives reveals how their production maintains pattern integrity.
Forge evenly with flat dies to maintain your pattern’s orientation. Uneven hammering near the tip, where the metal is drawn out, can skew the layers and blur the design. Start by shaping a rough preform, then cut or grind away excess material before forming the tip. Aggressive tip forging can smudge the pattern, so restrain this step. To prevent pattern elongation at the tip, use a bandsaw to saw a taper, removing excess thickness before forging the point.
Keep the blade close to its final shape early in the process. Fine adjustments should be saved for grinding to avoid unnecessary distortion. This approach helps preserve pattern clarity and ensures the intricate details remain visible throughout your forging.

【Easy to use】 Supports °C/°F display.

0-60 DEGREES CELSIUS: This mechanical thermostat has a temperature control range of 0℃ to 60℃, making it ideal for controlling filter fans and other electrical signal devices. The adjustable blue knob allows for quick and easy setting of the desired temperature.

【Alarm Output】With one alarm relay output: AC220V/DC30V 3A (Resistive load) ON/NC, you may connect it with a buzzer.
Heat Treat Your Damascus Blade for Performance
Heat treating your Damascus blade involves a controlled process that transforms the steel’s pattern into a functional edge. First, normalize the blade by heating it to a steel-specific temperature—around 1475 to 1500°F for common carbon blends—and holding it there for 8-10 minutes. This step relieves forging stress and reduces the risk of warping. Next, refine the grain structure through a series of cycles to achieve consistent hardness across the blade. Ensure the oil used for quenching is warmed to 110-115°F for consistent results, as recommended in preparation. Using a whetstone for sharpening after heat treatment will help maintain the blade’s edge. A well-heat-treated Damascus blade, when paired with a quality silverware set for dining, offers both aesthetic appeal and lasting cutting performance.
Austenitize at the appropriate temperature, around 1475–1500°F depending on your steel, ensuring the entire blade reaches uniform transformation. This high heat makes the steel receptive to quenching. Quench the blade quickly in fast oil to form martensite, moving the blade during immersion to avoid vapor jackets and prevent uneven soft spots.
Immediately after quenching, temper the blade in two cycles at 350 to 400°F. This step balances hardness and toughness, giving you enough edge retention for sharpening while preventing brittleness. Tempering also helps avoid the risk of cracking later. Be sure to complete the heat treatment before handle assembly to ensure the final geometry and pattern etching come out precisely, and that the blade performs reliably during use.
Grind, Etch, and Finish to Bring Out the Pattern
Once the blade is heat treated and tempered, the next step is to grind, etch, and finish it to reveal the Damascus pattern. Start by grinding the blade cleanly, maintaining even bevels throughout, then move through progressively finer abrasives. Hand-sand the surface using at least 400 grit sandpaper; for a cleaner contrast in the pattern, aim for 800 grit or higher. Use proper polishing techniques to achieve a high-polish finish that sharply highlights the layered design. Before etching, thoroughly degrease the blade with acetone to prevent contamination. For a stainless high-performance steel like Damasteel, sulfuric acid is typically used instead of ferric chloride to achieve the correct contrast. For a carbon steel blade, choosing the best oils for after-etch protection is important to prevent rust. While electric knife sharpeners are often used for standard blades, they are not recommended for delicate Damascus steel patterns due to the risk of uneven grinding. For those seeking a complete collection, referring to top knife sets with sheaths can help ensure you have proper storage for finished blades.
Prepare an etching solution by mixing ferric chloride with water at a ratio of 3:1. Submerge the blade in this solution for 10–30 minutes, depending on the pattern visibility desired. Use etch-and-clean cycles; after each, neutralize the blade in baking soda solution to stop the etching process. Lightly scrub the surface with 0000 steel wool to remove oxide build-up, taking care not to flatten the patterned areas. Repeat the etch and clean process until the layered relief becomes clearly visible.
To conserve the pattern, apply a light polish on the raised areas after etching, then rinse and dry the blade immediately. Follow this with an application of light oil or wax coating to protect the delicate contrast and prevent rust. Proper handling at each step ensures the Damascus layer structure remains sharp and visually striking.