Wondering what oil is safe to use on your chopping board? The best choice is food-grade mineral oil, which is stable, odorless, and won’t turn rancid like regular cooking oils.
Using the right oil helps keep your board in good shape without introducing unwanted flavors or chemicals.
Keep reading to learn how to apply it properly and how often you should do so.
Why Food-Grade Mineral Oil Is the Best Pick for Your Cutting Board
Food-grade mineral oil is the best choice for your cutting board because it is safe, stable, and easy to apply. When you select a highly refined, USP/NF-labeled product, you can be confident it is food-contact safe and FDA-rated. Unlike plant oils, mineral oil won’t go rancid, so you won’t have to deal with unpleasant odors or spoilage over time. It penetrates deeply into the wood fibers, conditioning the material without creating a brittle layer that cracks or peels. This moisture resistance helps protect against warping and splitting, prolonging the life of your board. Mineral oil is also allergen-free, tasteless, and odorless, making it an ideal choice for kitchen use. To maintain your board, simply apply a generous coat, allow it to absorb, then wipe off the excess. Reapply whenever the surface appears dry to ensure ongoing protection. For a more complete and long-lasting finish, consider applying a beeswax and mineral oil mixture as the final step in your board’s seasoning routine. This same conditioning approach reflects the quality and performance standards found in premium kitchen tools. Similarly, a well-maintained board pairs perfectly with a top carving set for precise meat cuts.
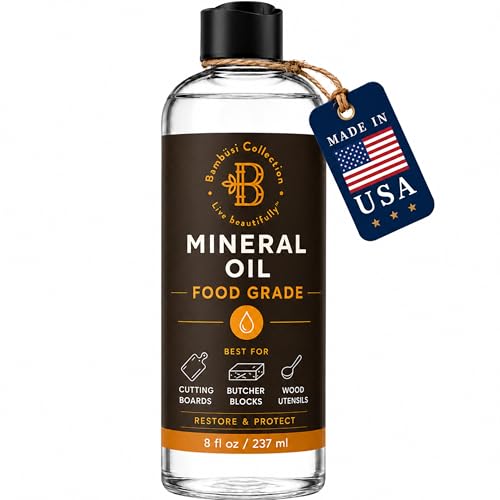
FOOD GRADE MINERAL OIL: This clear, odorless and tasteless white mineral oil is food safe and made for kitchen wood and food-contact surfaces. It soaks into dry cutting boards and butcher blocks to condition the wood without adding fragrance, flavor or unwanted residue
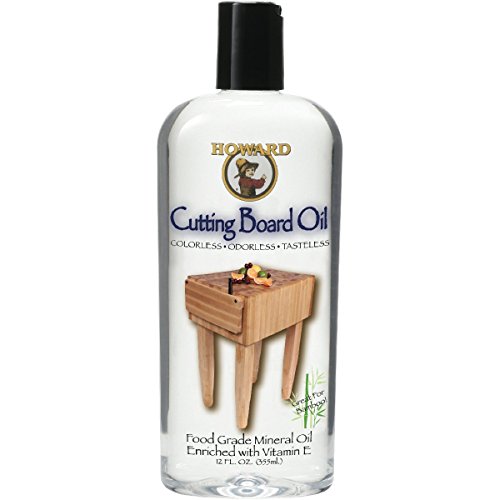
Cutting Board Oil is a deep penetrating 100% Pure USP Food Grade Mineral Oil that is tasteless, odorless, colorless, and will never go rancid

FOOD-GRADE MINERAL OIL FOR CUTTING BOARDS: Helps restore and protect dry cutting boards, butcher blocks, and wooden kitchen surfaces. Refreshes dull, worn wood and helps prevent cracking or splitting; works on bamboo, teak, acacia, olive wood, and hardwood boards
What to Look for When Buying Cutting Board Oil
When buying cutting board oil, the most important factors are food safety, ingredient transparency, and purity. Look for products labeled explicitly as “food-grade” or with a “USP” rating—these designations ensure the oil is safe for contact with food surfaces. Avoid vague labels such as “multi-purpose” or “general-use,” as they often lack specific safety assurances. For those prioritizing both performance and safety, selecting high-quality boards compatible with these oils is easier by consulting cutlery set reviews that compare material durability and maintenance requirements. Similarly, the same principle of seeking verified performance data applies to sharpening tools, where abrasive quality determines edge retention and final finish. For a detailed breakdown of the best options, readers can refer to comprehensive cutting board oil reviews that evaluate purity and food safety standards.
A short, straightforward ingredient list is a good sign of safety. Ideal options contain only pure mineral oil or liquid paraffin, with no added fragrances, dyes, or preservatives. If the ingredients are unclear or contain unlisted additives, steer clear. Comparing products helps to identify brands that provide third-party testing results or publish safety documentation like a Safety Data Sheet (SDS).
Pay attention to odor and color. Oils with strong smells or vibrant hues tend to contain additives or are less inert for food contact. Choose packaging that’s opaque or amber-colored, as these protect the oil from light exposure that can degrade quality over time. When inspecting labels, ensure the brand openly discloses its purity standards and manufacturing practices, giving you confidence in what you’re applying to your cutting board. Stick with simple, tested formulas for the best results and peace of mind.

FOOD GRADE QUALITY: Premium mineral oil designed for direct and indirect food contact, meeting U.S. FDA regulations and USP standards for maximum safety

NSF CERTIFIED FOOD GRADE - This premium mineral oil is NSF certified and lab-tested to meet the strictest food safety standards. Colorless, odorless, tasteless, and gluten-free — perfect for cutting boards, butcher blocks, and all food-contact surfaces.

USP FOOD-GRADE MINERAL OIL – LIGHT, PURE & EASY TO APPLY – USP-grade mineral oil that is colorless, odorless, tasteless, and free from added fragrances, dyes, and preservatives. Pure mineral oil naturally has a light, clear, free-flowing consistency, allowing for smooth, even application on wood surfaces. Suitable for food contact surfaces in home and commercial kitchens
How Often Should You Oil Your Chopping Board?
Most wooden chopping boards should be oiled every 3 to 4 weeks if you use them daily. For heavy use, this interval shortens to every 2 to 3 weeks. If you only chop a few times a week, a cycle of 6 to 8 weeks works well. Light-use boards can go for 1 to 3 months between needs for oiling. Similar to how high-quality knives require proper maintenance, the wood stabilizer process in chopping boards benefits from consistent oiling to prevent cracking. When selecting an oil, choosing a food-safe mineral oil ensures the board remains sanitary and does not turn rancid over time, matching the quality and value expectations of top-rated kitchen tools.
Climate influences how often you should oil your board. Dry, heated kitchens require more frequent oiling—sometimes every 2 to 3 weeks—while humid conditions let you extend the interval. Instead of relying solely on calendar timing, watch for signs like a pale, dull, or rough surface, which indicate it needs attention. Water beading up on the surface shows the oil is still effective; if water darkens the wood within 10 seconds, it’s time to reapply. Dry patches also signal the need for oil. New boards may need weekly oiling during their first month to stabilize the wood. Adjust your schedule based on these cues to keep your chopping board in top condition. Common mistakes like over-oiling the board can cause sticky buildup and attract dust, so apply thin, even coats instead.
How to Oil a New Cutting Board: A Step-by-Step Guide
Oiling a new cutting board requires at least two coats of oil to properly condition the wood. Begin by thoroughly washing the board with warm water and mild soap, then rinse quickly and dry with a towel. Allow the board to air-dry upright for several hours or until completely dry before applying any oil.
Use a food-grade mineral oil or a dedicated board oil. Pour about two tablespoons of oil onto one side of the board, then spread it in circular motions along the grain with a soft cloth. Cover all surfaces, including edges, juice grooves, and both faces, until the wood stops absorbing the oil. Continue applying until the surface appears saturated but not overly greasy. This generous saturation stabilizes wood fibers and forms a water-repellent barrier that prevents the fibers from splintering and warping. Wood cutting boards are considered safe for kitchen use when properly maintained with oil. For efficiently pitting fruit, a dedicated pitter is a faster alternative to manual removal.
Let the oil soak in for at least 20 to 30 minutes; for new boards, longer periods may be necessary. If after this time the surface still looks dry, reapply another coat of oil. Wipe off any excess oil with a clean cloth until the surface feels dry and not greasy. Allow the board to cure overnight before using it. This process enhances the grip of your knives and highlights the wood’s natural grain and color, making it both safer and more beautiful to work on.

Revitalizing blend prevents drying and cracking of hardwoods and bamboo

NSF CERTIFIED FOOD GRADE - This premium mineral oil is NSF certified and lab-tested to meet the strictest food safety standards. Colorless, odorless, tasteless, and gluten-free — perfect for cutting boards, butcher blocks, and all food-contact surfaces.

Food safe, prevents absorption of food odors. Perfect for cutting boards, wooden utensils, salad bowls and chopping blocks.
4 Signs Your Cutting Board Is Dry and Needs Oiling
Your cutting board is dry and needs oil if it shows signs of dullness and fading. First, look at the color: a pale, chalky surface, especially along the edges, indicates it has lost moisture. The wood grain appears less distinct as the protective layer diminishes. Next, feel the surface: if it feels rough, fuzzy, or catches your fingertips, the fibers are drying out. 3. Perform a water test by sprinkling a few drops on the board. If the water soaks in within 30 seconds rather than beading up, your board’s moisture level is low and it needs nourishment. Finally, inspect for cracks or lifting grain, particularly at corners or edges. These are signs that the wood has dried out beyond surface level, risking splits and more damage. Acting quickly with oil can restore smoothness, enhance moisture retention, and prolong your board’s lifespan. For deeper protection, cutting board conditioner seals in the oil and adds a durable finish. Proper knife care also depends on quality knife storage to protect both the blades and the cutting surface from damage. Using a budget kitchen knife set can help maintain consistent cutting performance when your board is properly oiled.

REVITALIZING FORMULA BLEND prevents drying and cracking of hardwoods and bamboo. Great for restaurant cutting boards, great for home kitchens even chef cutting boards. This is the safest conditioner and will rejuvenate and revitalizes cutting boards. Great size for restaurants and industrial kitchens.

Built for Wooden Surfaces: 16 oz. food-grade mineral oil penetrates deep into wood grain to help reduce dryness while protecting butcher blocks, cutting boards, countertops, and utensils.

FOOD GRADE MINERAL OIL: Our mineral oil oil is lab tested to meet strict food safety standards. Clark's wood cutting board oil is not colorless, providing deep nourishment while keeping your wood cutting boards and kitchen surfaces protected.
Why Common Cooking Oils Ruin Your Cutting Board
Common cooking oils like olive, canola, and vegetable oil are not suitable for maintaining a cutting board. When absorbed into the porous wood surface, these oils quickly oxidize and break down into rancid compounds. This process produces sour, musty odors that can linger and transfer to your next chop. Unlike specially formulated mineral or food-safe oils, household cooking oils do not cure into a stable, protective film. Instead, they leave a sticky, gummy residue inside the wood fibers, attracting dust and grime. Furthermore, these oils lack the linseed oil safety certification needed for food-contact surfaces. This slick film can make your board feel dirty even after washing, and the trapped old fats and debris compromise its hygiene and longevity. Using these common oils may seem convenient, but they can swiftly undermine your board’s performance and cleanliness. A food grade mineral oil will properly seal and protect the surface without turning rancid. For a more durable finish that resists wear, honing oil often contains additives that help it penetrate deeper and harden into a tougher coating than plain mineral oil.
How Board Butter With Beeswax Seals Moisture Out
Because board butter combines penetrating mineral oil with surface-sealing beeswax, it blocks moisture far more effectively than oil alone. The mineral oil sinks deep into the wood grain, conditioning dry fibers from within. Meanwhile, the beeswax forms a protective layer on the surface, creating a strong moisture barrier that causes water to bead up and roll off instead of soaking in. To apply, start with a clean, dry board. Rub a small amount of board butter in by hand, then let it sit for several hours or overnight to absorb. Once the surface appears glossy and dry, buff off any excess until it feels smooth. This process helps keep your board hydrated internally while significantly reducing liquid absorption during regular use, which helps prevent cracking and maintains a vibrant grain appearance without leaving sticky residue. For safe handling during application, you should also consider wearing cut-resistant gloves while working on the board. Additionally, maintaining a well-conditioned board reduces the need for excessive force during cutting, which can help prevent plastic cutting boards from dulling knives. For optimal knife performance, a similar principle applies to maintaining the recommended degree range of sharpening angles on your blade.

Protects Wood from Drying and Cracking - Wood wax, butter, cream, and conditioner is ideally formulated to protect your wooden tools for a lifetime.

Protects Wood from Drying and Cracking - Wood wax, butter, cream, and conditioner is ideally formulated to protect your wooden tools for a lifetime.

Superior Surface Sealing: Our cutting board gel combines food grade mineral oil for wood cutting boards and beeswax for cutting board to provide an exceptional butcher block oil that deeply penetrates, ensuring your surfaces remain protected and look pristine
Common Mistakes That Ruin Your Chopping Board Oil Treatment
Using the wrong oils or applying oil improperly can quickly ruin your chopping board treatment. First, avoid pantry oils such as vegetable or olive oil, as they tend to go rancid, creating bad odors and potential food safety issues. Instead, stick to food-safe mineral oil designed specifically for cutting boards. Never apply oil to a damp or dirty board; moisture trapped inside encourages warping and mold growth. Always ensure your board is thoroughly cleaned and completely dried before applying oil. Over-applying oil results in a sticky, greasy surface that attracts dust and prevents proper absorption. Wipe off any excess to keep the surface smooth. Rushing the soaking time is another common mistake—oil needs several hours, often overnight, to fully penetrate the wood. Applying oil hastily leaves your board under-protected and more vulnerable to damage. Finally, avoid neglecting routine maintenance. Top butcher knives are essential for deer processing, but for your board, reapply oil whenever water stops beading on the surface to keep the wood conditioned and prevent cracks, stains, and deep wear. Regular care helps maintain both the appearance and safety of your chopping board.