Wondering how to create a durable and beautiful end grain cutting board? The secret lies in carefully selecting and assembling hardwoods like maple or walnut into a precise pattern.
Once you get the technique right, you’ll be surprised at how satisfying it is to craft your own. Keep reading to learn the step-by-step process for making one at home.
Pick Wood for Your End Grain Cutting Board
When choosing wood for your end grain cutting board, prioritize species with a Janka hardness between 900 and 1,500 lbf. Hard maple, at 1,450 lbf, strikes a good balance between durability and knife-friendliness. Black walnut, at 1,010 lbf, is softer and gentler on blades, while cherry, at 950 lbf, offers a middle ground. The grain structure is equally important; closed-grain species such as maple, cherry, and walnut provide better moisture resistance and are less prone to trapping food particles. Avoid open-grain woods like oak, which can harbor debris and moisture. For consistent performance, select straight, stable wood boards free from knots, as irregular grain and defects can lead to warping or uneven cutting surfaces. Using a knife set that balances quality, performance, and value helps ensure your cutting board maintains its surface integrity over time. For optimal long-term durability, pair your board with well-balanced cutlery that won’t chip or dull prematurely. A high-quality knife set also ensures excellent grilling performance when transitioning from prep to the grill.
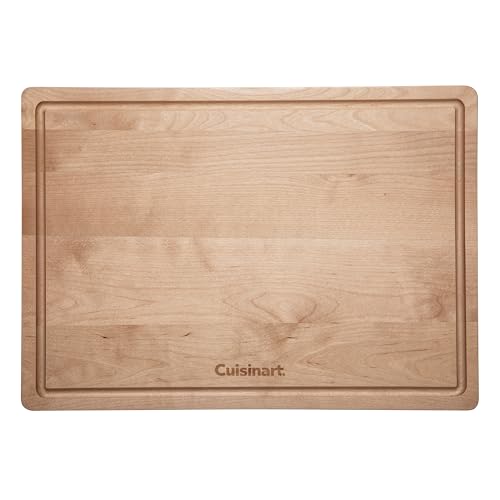
Convenient double-sided board superbly crafted from durable, beautiful maple wood
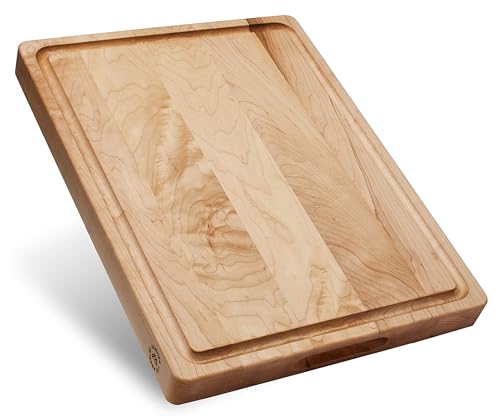
EDGE GRAIN CUTTING BOARDS: THE CLASSIC CHOICE — Built for daily use, this edge grain wood cutting board is a true kitchen staple. The horizontal fibers create a solid, resilient, and non-porous surface that excels at resisting stains, making it your reliable partner for every meal.
Mill Strips and Glue the First Panel
Mill your selected wood into strips that are uniform in thickness and width—aim for consistent measurements to ensure a smooth, well-aligned glue-up. Use a planer or jointer to create square, straight edges, which minimize gaps in the glue line and help produce a flat, even panel. Cut the strips slightly longer and wider than your final dimensions to allow for cleanup and squaring after gluing. Dry-fit the strips to check the layout, alternating grain directions to enhance visual contrast and structural stability. Mark the top and bottom faces to simplify reassembly. When ready to glue, spread waterproof, food-safe glue evenly on each mating edge—be sure to coat both sides since end grain tends to absorb glue quickly. Join the strips together, applying clamps gradually and alternating their placement above and below to avoid bowing. Tighten the clamps until a thin bead of glue squeeze-out appears, then wipe away excess with a damp cloth. For precise cutting, use a table saw with a stop block to cut strips into 1.5-inch squares for the checkerboard pattern. Allow the panel to cure undisturbed for at least an hour before proceeding. Consider that the final board’s quality rivals even top charcuterie boards for hosting and serving. A sharp, reliable cutting tool is essential for this precision work, much like the skinning knives with gut hooks used by hunters for clean field dressing.

Proven Type I Waterproof Performance: Passes ANSI/HPVA Type I water-resistance standards, making it ideal for outdoor woodworking, cutting boards, furniture, and projects exposed to weather conditions.

Provide a much stronger bond than the wood itself

Creates an Exceptionally Strong Bond Delivers a bond strength that surpasses the natural durability of wood, ensuring your projects remain secure and long-lasting under pressure.
Cross-Cut to Form the End Grain Surface
To create an end-grain surface, you will need to cross-cut the cured face panels into segments. Set up a table saw with a crosscut sled and a stop block to ensure precise, repeatable widths. Your target segment width should slightly exceed your final board thickness to allow for cleanup later. Consistency is critical—any variation in cut widths can cause issues during re-gluing and affect the pattern. Proper blade selection, such as a glue line ripping blade, is key to achieving clean cuts suitable for gluing and avoiding chipping during this process. The same attention to precise edge work is seen in the forging of high-end Damascus knives, where exact angles determine strength and pattern. Similarly, selecting the right sharpening stones for your kitchen knives ensures that you can maintain that precise edge for consistent, clean cuts. This meticulous approach to materials and design also explains why charcuterie boards are so costly, as premium end-grain construction requires significant time and waste.
Before cutting the actual panel, perform test cuts on scrap material to verify your setup. Keep the panel firmly against the stop block and flat on the sled throughout each cut. Regularly check the widths of the segments to catch any drift or inaccuracy early. Each edge must stay square so that when you rotate the pieces 90 degrees, the grain aligns properly and the pattern remains consistent.
After completing all the cuts, rotate each segment so that the end grain faces upward. This rotation transforms the face-grain strips into an end-grain surface, creating the characteristic checkerboard or striped pattern. Precise cuts now are essential because any error will be magnified during the rotation and gluing process. Take your time to prioritize safety and accuracy to achieve a seamless, attractive pattern.

INCLUDES: (1) T-Track Flip Fence Stop (3 inches) with 5/16" T-Bolt

Calibratable Reading cursor: The close positioning of the indexing hairline cursor minimizes offset distance for the scale tape, T track flip stop preserving the longest measurable distance on your fence while giving a reading calibration

INCLUDES: (2) T-Track Flip Fence Stop (3 inches) with 5/16" T-Bolt
Flatten and Sand the Board Smooth
Once the end-grain surface is assembled and the glue has fully cured, you need to flatten and sand the board smooth. Use a router with a flattening jig for controlled passes, or a drum sander if available. Avoid planers because they’re unsafe on end grain and can cause damage or tear-out. Start with coarse grit sandpaper, typically 40 to 80 grit, to remove flattening marks and surface irregularities. Progress through finer grits—100, 120, 150, and finally 220—until all scratches are erased at each step. Secure the board firmly to prevent movement, first flatten one face, then the other. For a more controlled router method, build a custom sled from MDF to ensure stability during flattening, allowing for secure positioning and better control. While sanding to this level of smoothness, you are preparing the surface to handle premium Japanese kitchen knives without dulling their edges. However, remember that unlike these boards, bamboo cutting boards are generally not dishwasher safe due to the risk of warping and cracking from moisture and heat. Understanding the mechanics of a cherry pitter—which uses a plunger to push the pit through the fruit—can inspire similar precision when aligning your router passes for even material removal.
Before sanding, remove any dried glue spots to ensure a smooth finish. For edges, use your random orbital sander with even, consistent pressure to ensure uniform coverage. Wet the surface briefly to raise the fibers, then sand again with 220 grit to achieve a silky smooth texture. Maintain steady, even pressure and consistent motion during sanding; uneven movement can create dips and uneven spots. Working cleanly and keeping your tools sharp will help ensure the best results and a durable, smooth surface.
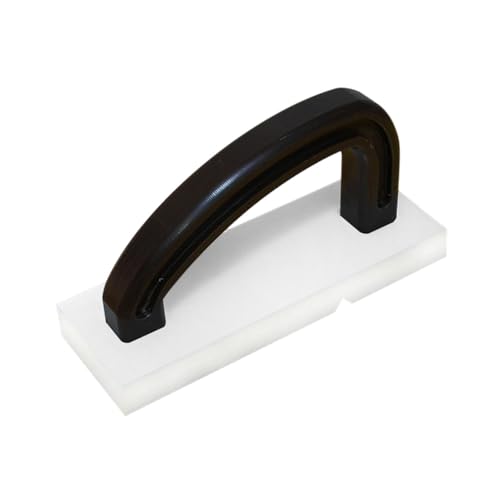
【Stainless Steel Blade】: The scraping cutter features a stainless steel blade that is not only easy to clean but also highly practical, promising long-term use

Selected High-quality Wood: This cutting board is made of solid natural acacia wood, so it is very durable and can withstand heavy cuts. It is knife friendly, gentle on your knives and won't dull the blades.

Great solution: Easily, cleanly and accurately cut your sand paper sheets for ease and speed in your sanding applications – set it up and cut away - no mess, no fuss, no waste - just perfectly cut paper every time – smooth cutting
Finish and Protect Your End Grain Board
Regular maintenance is key to preserving your end grain board. Reapply food-grade mineral oil or a specialized cutting board oil every 1 to 4 weeks during the initial period of heavy use. After that, once a month is sufficient to keep the wood nourished. Every 3 to 6 months, add a thin layer of beeswax or a dedicated board wax to protect the surface and enhance its appearance. While linseed oil is sometimes used, it is not recommended for cutting boards because raw linseed oil can take a long time to dry and may contain additives that are not food-safe. For best results, choose a high-quality board wax that offers superior protection and durability. Before waxing, ensure the board is clean and dry, then apply the wax with a soft cloth in circular motions for even coverage.
Never soak your board in water or place it in the dishwasher, as excessive moisture can cause warping or cracking. Instead, dry it upright after cleaning to allow air circulation on all sides. Avoid cooking oils like vegetable or olive oil for maintenance—they are prone to rancidity and can spoil faster, leaving an unpleasant odor and affecting the wood’s finish.
Your aim is to achieve a smooth, slightly waxy feel that naturally resists cracks and warping. Regular oiling and waxing create a protective barrier that keeps the wood hydrated, prevents stains, and maintains its visual elegance. Proper upkeep not only ensures your board remains functional longer but also preserves its natural beauty.

FOOD GRADE MINERAL OIL: This clear, odorless and tasteless white mineral oil is food safe and made for kitchen wood and food-contact surfaces. It soaks into dry cutting boards and butcher blocks to condition the wood without adding fragrance, flavor or unwanted residue
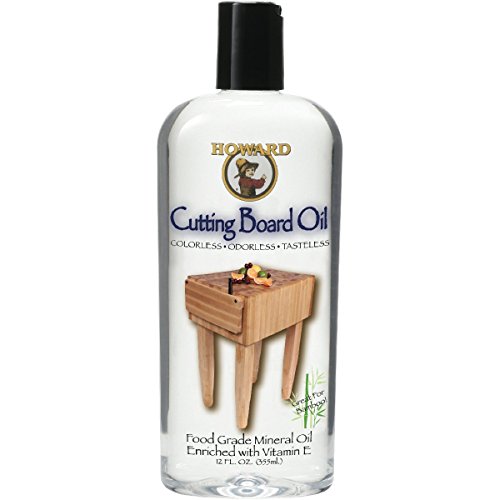
Cutting Board Oil is a deep penetrating 100% Pure USP Food Grade Mineral Oil that is tasteless, odorless, colorless, and will never go rancid

Revitalizing blend prevents drying and cracking of hardwoods and bamboo