
If you’re wondering how to sharpen ceramic knives without damaging them, you’re not alone. These knives are known for their hardness and durability but require special care when sharpening.
Using diamond abrasives at the right angle and applying gentle pressure can restore their sharpness safely. You’ll find all the step-by-step tips to do it right just ahead.
Pick Diamond Sharpeners for Ceramic Knife Sharpening
Diamond sharpeners are essential for ceramic knives because their blades are extremely hard—much harder than standard steel. Standard steel sharpeners won’t cut it, as they can damage or chip the brittle ceramic edge. Look specifically for diamond grinding wheels, stones, or rods that are labeled for ceramic use. These tools incorporate industrial-grade diamond abrasives, which are necessary to effectively grind and restore the edge without causing harm. For example, the Kyocera Advanced Ceramics Diamond Wheel Knife Sharpener uses a durable #1000 grit diamond wheel designed for both ceramic and steel knives. When selecting a sharpener, ensure it is part of a best cutlery set that includes proper maintenance tools. The same principles of quality and performance that guide top steel knife selection also apply to choosing effective ceramic sharpeners.
Avoid generic pull-through sharpeners—they lack the specialized abrasive materials needed and will likely fail or damage your blade. Instead, use a surface with a fine diamond grit, typically between 600 and 1000, for regular maintenance. When your ceramic knife is very dull, start with a coarser grit around 320 or 325 to re-establish the bevel.
Always apply very light pressure during sharpening; heavy force risks chipping or cracking the ceramic. Use gentle, multiple passes rather than aggressive, single strokes. This method preserves the integrity of your ceramic blade and ensures a sharp, durable edge.

Durable #1000 grit diamond sharpening wheel

Quick & Precise Sharpening: Restore your knives to razor-sharp precision in minutes with this easy-to-use, professional-grade rolling knife sharpener. Whether you’re a beginner or an expert, enjoy fast, consistent results that transform dull blades into ultra-sharp tools, providing smooth, effortless cuts every time.

【Accurate and Long-Lasting Sharpness】Any serious chef knows that high-quality knives are expensive. Use the AIERLIAN Roller knife sharpener to polish and keep your cutting in a new state for a longer duration. With our easy-to-use system, anyone can obtain factory sharp tools in just a few minutes.
Set a 15–20° Angle to Prevent Chipping
Setting the sharpening angle between 15° and 20° per side is essential to prevent chipping. For the sharpest edge, choose 15°, but if you want a more durable blade that handles tough ingredients better, lean toward 20°. This range helps distribute cutting force evenly, reducing the risk of micro-chipping. To maintain consistency, mark the existing bevel with a pen so you can sharpen at the same angle on each side. Avoid changing angles mid-pass, as this weakens the edge and makes the sharpening uneven. Steady the blade and tilt from 90° to 45° and then to 20°, gradually narrowing down to your target angle. Keeping both sides symmetrical protects the ceramic from fractures and ensures a balanced, long-lasting edge. Similarly, just as regular cleaning with food-safe mineral oil helps prevent wooden boards from drying and cracking, consistent sharpening angles prevent ceramic blades from chipping. Choosing a quality charcuterie board made from durable hardwood can further complement your kitchen tools and reduce surface wear. For a comprehensive comparison of kitchen essentials, top knife sets with blocks often highlight how blade geometry and edge retention factor into overall performance and value.
Use Light Pressure and Smooth Strokes on the Edge
Use light pressure and smooth strokes when sharpening a ceramic knife to avoid damaging the brittle edge. Focus on controlling your pressure by only applying fingertip pressure—never force the blade into the abrasive surface. Tense wrists indicate you are pressing too hard, so keep your hands relaxed throughout the process. Maintain steady blade alignment by drawing the knife from heel to tip in one continuous, even motion. Unlike wooden knives, which benefit from periodic conditioning with cutting board wax and oil, ceramic knives require a completely different approach to maintenance. Avoid jerky movements or back-and-forth scraping, as these can cause uneven wear or micro-chipping of the ceramic edge. Instead, perform short, controlled sets of five to ten passes on each side. Using slow, gentle strokes helps keep the edge aligned with the abrasive surface and minimizes the risk of catching or chipping the ceramic. Regularly check your progress to prevent overworking the edge and ensure a consistent, fine sharpening that preserves the knife’s integrity. Unlike chef knives and santoku made from softer steel, ceramic knives demand this gentler technique to prevent fracturing their hard, brittle blade. For best results, always use a sharpening surface that is non-plastic and durable to avoid introducing contaminants that could damage the ceramic edge.
Secure Your Sharpening Rig on a Flat, Non-Slip Surface
Ensure your sharpening rig is on a flat, non-slip surface before starting. Use a clean, dry countertop or similar sturdy base that provides stability. Adding a non-slip mat or rubber base under the setup helps prevent sliding when you apply pressure. Make sure the entire base sits flush, with no rocking or partial contact. Verify that clamps, feet, or holders are securely engaged. Keep the surrounding area clean, dry, and free of debris or water, which can cause slipping. Test the rig gently by applying light pressure to confirm it doesn’t shift during movement. If it moves, stop and reset immediately. A stable foundation keeps your blades at the correct angle and reduces the risk of accidents. For sharpening on a stone, you might also need to select the best honing oil for proper lubrication and performance.

NON-SLIP GRIP – Helps hold workpieces securely without clamps.

Non-Slip Workbench Mat: Our 24'' x 36'' work bench mat helps prevent shifting and scratching while sanding, routing, and more while holding your project firmly in place without wobbling, jerking, or any horizontal movements
Inspect the Edge With a Paper Test, Then Rinse and Store
After sharpening, test the blade by slicing a sheet of plain printer paper held vertically. Use only light pressure; a sharp edge will cut smoothly and cleanly. If it catches or tears, the edge still needs refinement. Always point the knife away from your body and avoid slicing toward your hand to prevent slips during inspection. Testing the entire length of the blade helps identify uneven spots or dull areas, which can improve overall edge durability with continued work. For those who prefer a different type of blade, top rated utility knives offer excellent quality and value for various cutting tasks. To maintain other kitchen tools that see less wear, a food safe mineral oil is essential for conditioning wooden cutting boards and preventing cracks.
Once you’re satisfied with the sharpness, rinse the knife thoroughly with clean water to wash away any sharpening debris. Dry each side carefully with a clean towel before storing. Keeping the blade dry prevents rust and corrosion, preserving your work and ensuring the edge stays intact. Only store the knife once it is fully dry to promote safer handling and maintain its sharpness between uses.
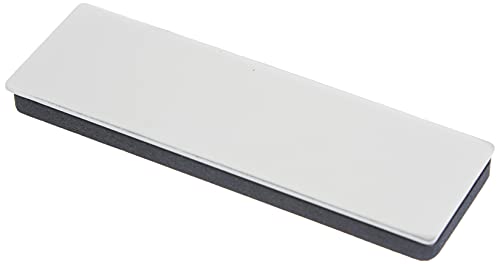
Crafted from the highest quality materials
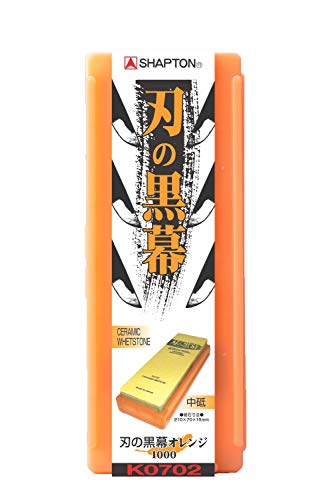
Features: A #1000 medium whetstone with a blade that is good enough to be used as a rough or medium sharpener
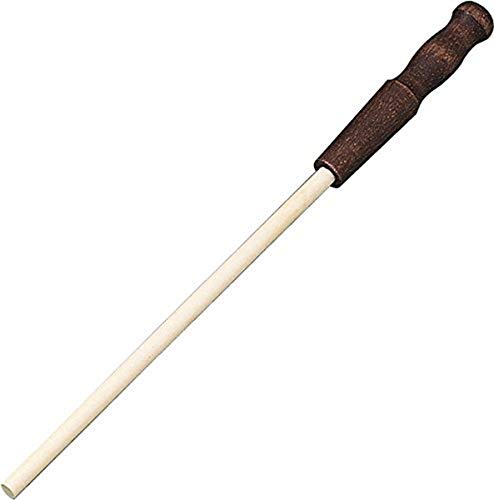
Wood handle
