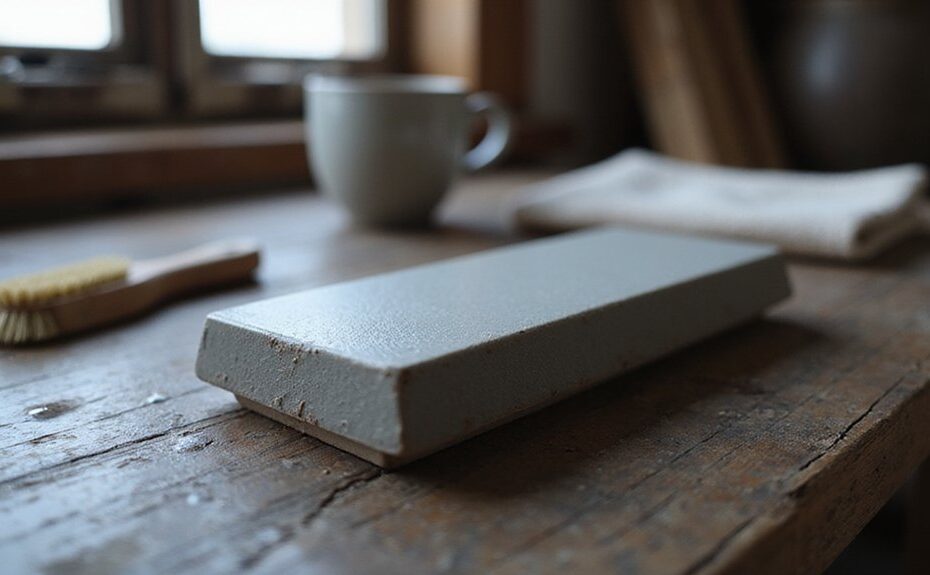
Wondering how to keep your ceramic sharpening stone in top shape? Proper cleaning is key to maintaining its effectiveness, and it’s simpler than you might think. With a few gentle steps, you can keep your stone clean, flat, and ready for use over time.
In this guide, you’ll learn exactly how to clean different types of stones and restore their performance. This way, your sharpening tools stay sharp and effective.
Identify Your Stone Type Before Cleaning
First, distinguish ceramic from diamond or hybrid constructions, as their cleaning rules vary significantly. Aggressive abrasives designed for diamonds can embed into ceramics, causing permanent damage and ruining the finish. Always verify the manufacturer guidance before using soap or hot water, as many ceramics react poorly to detergents. These substances can break down binders, compromising the stone’s integrity. Tailor your cleaning approach to your specific stone material to ensure it remains pristine and undamaged. Similar to how a clean, long-lasting result for butcher blocks requires proper maintenance, your ceramic stone benefits from the same care. For ceramic stones prone to metal buildup, a powder abrasive like Comet or Ajax is effective for removal when scrubbed with a Scotch Brite pad. When selecting a cleaning method, consider the quality, performance, and value of your stone to avoid degrading its surface over time. Properly maintaining your cleaning tools is similar to how choosing the perfect belt knife sheath ensures your blade remains accessible and protected.
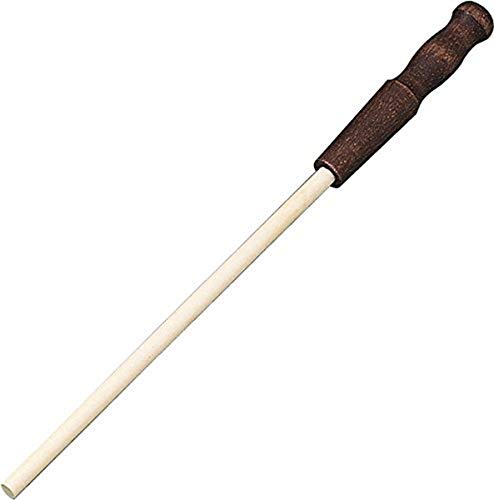
Wood handle
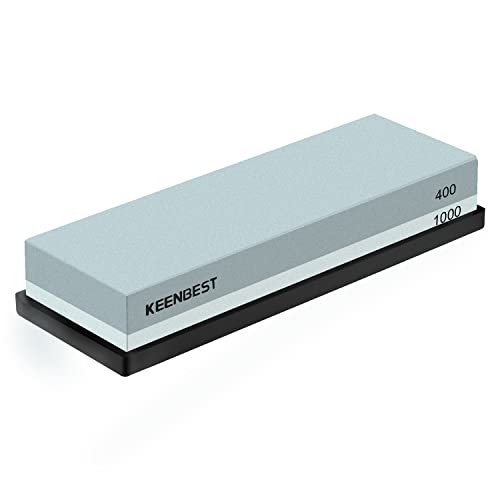
No oil needed, just put the stone into water for 10-15 minutes before using and they are ready to use. You can always adding water on it while sharpening, with water the lubricating effect of grinding will be great and helps you to save strength

Remove Loose Debris From Your Ceramic Stone After Each Use
After each sharpening session, immediately removing loose grit prevents debris from hardening in the stone’s pores. Place a towel or tray beneath your workspace to catch metal flecks and swarf, which helps prevent surface contamination from spreading. Rinse the stone with warm water, continuing until visible particles stop washing away. This quick step is essential for effective debris removal. Understanding which knife types benefit most from a clean stone helps you prioritize maintenance for your kitchen tools. For example, carving knives require especially sharp edges that a clean stone helps maintain. A clean stone is also crucial for maintaining the toothy edge that serrated knives need.
Next, use a soft brush or toothbrush to gently lift fine grit from the stone’s texture, making small circular motions. Repeat this process until the surface appears clean. Finally, wipe the stone with a damp cloth to pick up any loosened residue, then fully dry it with a paper towel. Inspect the surface afterward—if any grit remains, rinse and wipe again. Keeping your stone clean and dry ensures it won’t transfer debris to your blades during subsequent use.

Professional Whetstone: 2 whetstones have difference grit which are 400/1000 and 3000/8000. The grit is accurate. 4 sides grit are satisfy with any knife blade needs. 400/1000 grit is typically used to repair knives with chipped edges and sharpen dull knives. 3000/8000 grit used to refine the edge and provide extra fine finish/polish on your blades.

Dual-Sided Sharpening Faces: Features a 400 Grit diamond side for edge touch-ups & a ceramic side for finer honing; compact design helps maintain pocket knives, scissors, fishing tools, & small edge tools

Precision Deburring & Fine Sharpening - Ideal for sharpening, polishing, and deburring steel and carbide tools, delivering edge refinement for a professional and detailed finish.
Use Mild Scrubbing for Routine Ceramic Stone Cleaning
Once loose debris is removed, a mild scrubbing step helps you keep the ceramic stone free of embedded grime that daily rinsing might miss. Use a soft brush, like a toothbrush, with warm water and a mild dish soap to gently lift surface stains. Gentle circular motions are effective at loosening residue, but avoid applying aggressive pressure to prevent wearing down the stone’s surface. This process prepares the stone for optimal performance without grinding it down. After scrubbing, rinse thoroughly with warm water to wash away all soap and loosened particles. This step prevents soap film from dulling future sharpening results. Finally, dry the stone completely with a soft cloth and let it air-dry before storing. This routine ensures a residue-free surface without harsh chemicals, keeping your ceramic stone effective for daily use. Unlike charcuterie boards, ceramic stones do not require special thickness specifications to function properly. To maintain a sharper edge on your knives, you should sharpen them when you notice signs of dullness like difficulty slicing a tomato or slipping on the skin of an onion. For heavily embedded debris, using honing oil can help suspend particles during cleaning without damaging the stone’s structure.

WHETSTONE KNIFE SHARPENER — NO SKILL, NO GUESSWORK Most people avoid whetstones because holding the correct angle is intimidating. The included angle guide locks your blade position automatically — making professional knife sharpening practically idiot-proof, even on your first try. No oil needed, no mess, no guesswork.

Heavy Duty & Multi-Purpose Cleaning: Our pumice stone set is designed as a versatile pumice stone for cleaning stove, grill, oven, and stove grates. It works as an efficient pumice stone for grill cleaning, pumice stone for oven cleaning, and pumice stone for stove cleaning, easily tackling burnt food, carbon buildup, and tough grease on most hard kitchen surfaces.

COMPATIBLE 1" x 6" FORMAT: Approx. 150 × 25 mm abrasive surface with beveled-end metal backing for use with the SHARPAL Universal Stone Holder and other 1" x 6" stone holders that accept beveled-end abrasive plates.
When to Use Stronger Cleaners for Heavy Metal Buildup
Strong cleaners are necessary when routine scrubbing cannot remove dark gray or black glazing caused by heavy metal buildup on your ceramic stone. This persistent discoloration indicates metal particles are embedded deep within the pores, not just on the surface. Waiting too long can impair your stone’s cutting ability, so it’s best to act promptly. Use powdered scouring cleansers such as Comet, Ajax, or Bar Keepers Friend. Mix the cleaner into a paste with water and apply it directly to the affected area. Scrub using a stiff nylon brush or Scotch-Brite pad, focusing on the buildup. These cleaners work by a mild chemical reaction that helps break the bonds of embedded metal particles. Before applying, check the abrasive compatibility with your ceramic type to prevent surface damage. Use short scrubbing cycles, rinse thoroughly afterward, and avoid applying excessive pressure that might flatten or damage your stone. Reserve these stronger cleaners for stones that see frequent sharpening or high-metal-removal tasks. Always test a small, inconspicuous area first to ensure no adverse reaction occurs, especially on valuable stones. Proper use of these cleaners restores your stone’s cutting ability without reshaping or harming its surface. For home cooks using Japanese knives, regular maintenance of sharpening stones is essential to preserve the delicate edge geometry and high-carbon steel typical of these blades, just as regular oiling prevents cracking and warping in wooden cutting boards. If you are considering donating used kitchen knives, note that Goodwill typically does not accept them due to safety concerns and liability restrictions.
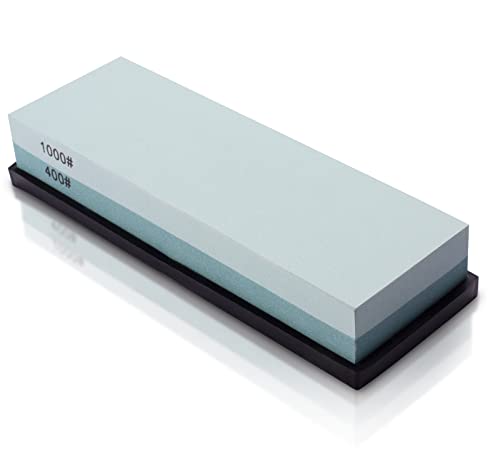
DUAL SIDED SHARPENING STONE: Made from durable silicon carbide(processes and inspections.), this two-sided sharpening block comes with both a 400-grit side, used for returning edges to their original shape, and a 1000-grit side used for smoothing and polishing cutting edges. Corrosion-resistant, heat-resistant, edges, and corners are clearly demarcated

RESTORE WORN STONES TO LIKE-NEW IN MINUTES Your whetstones dish out with use, and a cupped stone ruins your sharpening angle — and your edges. This dual-grit flattening stone re-levels any waterstone, oil stone, or ceramic stone fast: most users flatten a badly dished stone in about 5 minutes and rinse it off flat as new.

VERSATILE FUNCTIONALITY: For sharpening carpentry tools, garden equipment and kitchen utensils
How to Flatten a Clogged Ceramic Stone Safely
To flatten a clogged ceramic stone safely, you need to perform a controlled lapping process rather than simply cleaning it. Heavy metal buildup can embed beneath the surface, and surface cleaning alone won’t restore the stone’s true flatness. Start by securing coarse sandpaper to a flat, stable surface like glass or granite. Draw a pencil grid across the stone to serve as a visual guide. Use light, consistent pressure and move in diagonal or circular patterns until the grid lines fade evenly across the entire face. Avoid power sanding, as it can be too aggressive and risk damaging the stone. For severely glazed or heavily contaminated stones, applying silicon carbide slurry on a flat surface can help remove the glaze effectively. Choosing a quality charcuterie board to rest the stone on during lapping can provide a stable, non-slip work surface. Lapping a stone is analogous to the controlled sharpening of a steak knife in that both require even pressure to avoid creating uneven edges.
Do not use ultrasonic cleaning here, as it won’t correct warping or flatten the surface. Keep the stone wet throughout the lapping process; this minimizes dust and enhances contact with the abrasive. Re-mark the grid and check all corners frequently to ensure the entire face is becoming true and flat. Continue until the surface is uniformly even. Overlapping excessively or rushing can wear down the stone unevenly, so patience is crucial to avoid damage. For optimal care, treat the stone with the same edge protection principles used for storing Japanese knives to prevent accidental chipping during handling.

【HIGH QUALITY MATERIALS】Rotary grinding head made of high-quality corundum(head) and metal(mandrel).More durable and wear-resistant.

[7 Grits Sanding Sticks] Product shape: rectangular, good Hardness, abrasive sharp, good thermal conductivity. Grit: 80,150,240,400,600,800,1000. The sharpening stone set have 7 different grit size that you can coarse grinding, medium grinding, fine grinding, polishing.[80#to1000# can be selected,coarse/fine grinding] the smaller the grit size of the product, the coarser the sand grain, for coarse grinding, the larger the grit size,the finer the sand grain,for fine grinding.

GRINDER WHEEL: The grinding wheel is also suitable for polishing, works stably with high efficiency.
Dry and Store Your Ceramic Stone Correctly
To keep your ceramic stone in top shape after cleaning, you must let it air-dry completely in a shaded, ventilated spot. Avoid using heaters or placing it in direct sunlight, as both can cause cracking. Only store the stone when it is completely dry to prevent trapped moisture and residue from causing damage or compromising its performance. Cleaning with mild dish soap is a safe way to remove oil and metal particles without harming the stone. Considering the high cost of quality sharpening tools, properly maintaining your stone is a cost-effective investment to avoid premature replacement.
Your storage conditions are crucial. Keep the stone in a dry, cool space away from humidity, basements, or garages where moisture levels are higher. Wrapping it in a breathable cloth or newspaper is ideal; avoid airtight containers for routine storage since they can trap moisture. Storing the stone horizontally helps prevent warping over time, and placing it in a padded box or wrapping it in a soft cloth offers protection against chips and impact. For a superior option, consider a cutlery set review that highlights durable storage solutions for sharpening tools.
Handle your ceramic stone minimally before storage. Excess handling can reintroduce debris or create accidental damage. Place the stone where it will not be knocked or pressed by heavy tools. Regularly inspect it for signs of damage such as cracks, chips, or warping. Remember, dry storage is especially important for fine ceramic stones to ensure their longevity and consistent performance.
Use Water During Sharpening to Reduce Clogging
Using water during sharpening prevents your ceramic stone from clogging by carrying away metal debris and reducing friction. The water acts as a lubricant and swarf carrier, preventing metal fragments from loading the pores of the stone. This keeps abrasive particles exposed, so you won’t need to pause for aggressive cleanup. Water doesn’t cause chemical reactions in this process; it simply flushes debris away, making additional cleaning methods less necessary afterward.
Typically, a splash of water is sufficient, unless your stone is coarse—then a light soaking is helpful. A wet surface reduces glazing and maintains consistent sharpening performance. Always check the manufacturer’s instructions for your specific grit and porosity to ensure optimal results. After finishing, wiping the stone clean is easier because water lifts loosened debris, preventing hard buildup that can shorten the stone’s lifespan. This method also helps beginners avoid common beginner mistakes like applying too much pressure or neglecting to flatten the stone.
How Often Should You Clean Your Ceramic Sharpening Stone?
After each sharpening session, you should clean your ceramic sharpening stone immediately if you notice a dark slurry, reduced cutting speed, or glazed areas. These signs indicate the buildup of debris that can hinder performance. Cleaning regularly prevents the swarf from hardening and clogging the pores, which maintains the stone’s effectiveness.
A quick wipe with water or a soft brush right after use is usually enough for routine maintenance. For more thorough cleaning, especially when residue becomes stubborn, soak the stone in water and scrub gently to remove debris. Heavier use requires more frequent cleaning, while light use can extend the interval between cleanings. Always dry the stone thoroughly afterwards to prevent moisture from causing contamination or damage. Keep in mind that when simple wiping no longer restores optimal performance, it’s time for a deep clean based on the condition of the stone rather than a fixed schedule.