
White plastic cutting boards can quickly look grimy because tiny scratches trap stains. Removing those stubborn marks isn’t always simple, but with a few effective cleaning tricks, you can make your board look fresh again.
In the following, you’ll find easy steps to tackle common stains and restore your board’s bright, clean appearance.
Why White Plastic Cutting Boards Stain So Easily
White plastic cutting boards stain so easily because their surface becomes compromised over time. Every time you use a knife, it creates tiny scratches and grooves that remove the board’s natural stain resistance. Unlike darker or patterned boards, a white surface offers no visual disguise for pigment transfer. As a result, even light-colored substances like tomato sauce, turmeric, or beet juice become immediately prominent. This staining process is similar to how charcuterie boards can trap food particles, raising health concerns about bacterial growth in those grooves. These micro-scratches are more than just cosmetic flaws; they increase the board’s effective surface area. With each cut, shallow pits and micro-abrasions form, trapping food particles, fats, and pigments. These residues settle deep into the grooves, bonding to the plastic and making stains difficult to remove. Even though the plastic itself isn’t porous enough to absorb stains permanently, the superficial damage creates a stubborn surface phenomenon. The bright white background makes these trapped pigments highly visible, turning minor wear marks into obvious stains. The cost of replacing such boards frequently parallels the high price of charcuterie boards due to similar surface wear concerns. Using quality knife sets can help minimize the depth and frequency of these scratches.
The Right Way to Wash Your Board Before Treating Stains
Before you can treat stubborn stains on your board, it must be properly washed to remove surface grime and food residue. Start by scraping off loose crumbs and debris, paying close attention to grooves and knife marks to prevent soil from settling back during scrubbing. Next, use hot, soapy water along with a clean sponge or non-scratch pad to scrub both sides, edges, and corners thoroughly. Rinse the entire surface with clean hot water to wash away all soap residue, as leftover soap can interfere with stain treatment later. Once the board is clean, sanitize it with a diluted bleach solution—one tablespoon of bleach per gallon of water—for at least 10 seconds, or run it through the dishwasher if it’s safe to do so. Finally, dry the board completely by patting it with a towel or air drying it upright to prevent moisture buildup that can promote mold. This thorough drying step is essential, just as selecting the right kitchen tools matters when prepping ingredients for a meal. For those who prefer a more durable surface, a wooden butcher block offers a naturally stain-resistant alternative that requires different care. Only after this thorough cleaning process is complete can you move on to treating the stains effectively.
How to Remove Stains With a Baking Soda Paste
To remove stains with a baking soda paste, start by mixing baking soda with a small amount of water until it reaches a thick, spreadable consistency. This concentrated paste adheres well to stains, effectively breaking down residues from cooking oils and embedded bacteria.
Apply the paste directly onto stained areas, making sure to cover them thoroughly. Use a sponge or brush to gently scrub the paste into knife marks and discolored spots. Allow it to sit for 10 to 15 minutes, which helps loosen stubborn stains without letting the paste dry out completely.
After the wait, rinse the board with hot water to wash away the paste and loosened residues. Follow up by washing the surface with soapy water, then dry the board thoroughly. If some stains remain, repeat the process; a second application often lifts stubborn discoloration that the first round couldn’t remove. For boards with deep scratches from cutting, using a serrated knife sharpener can help maintain blade hygiene and reduce residue buildup. This cleaning method is especially useful for inexpensive plastic boards, unlike top charcuterie boards which prioritize quality and style over stain resistance. To maintain the knife’s surface, always avoid harsh abrasives that can scratch the delicate pattern.

Mrs. Meyer's Baking Soda Cream Cleaner removes soap scum and grease build-up to make your kitchen sparkle
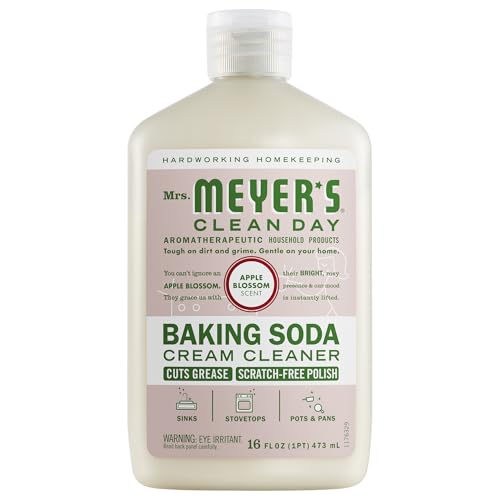
Mrs. Meyer's Baking Soda Cream Cleaner removes soap scum and grease build-up to make your kitchen sparkle

A HOUSEHOLD CLASSIC: This 2.7 lb resealable bag of ARM & HAMMER Baking Soda unlocks 100+ uses across your home—from kitchens and laundry rooms to crafting tables and beyond
When to Use Hydrogen Peroxide on Stubborn Stains
If regular washing and baking soda paste fail to lift stubborn discoloration, reach for 3% hydrogen peroxide. This concentration works best on pigment stains like tomato, berry, or curry that have set into scratches or textured surfaces. To treat, pour the hydrogen peroxide directly onto the stain, ensuring it is fully covered. For light stains, allow it to sit for 5 to 10 minutes. For deeper, more stubborn stains, leave it on for 2 hours or overnight. You can use a soft brush to gently work it into grooves and textured areas. After treatment, rinse thoroughly with hot, soapy water. Repeat the process if a faint mark remains. It is important to stick to 3% hydrogen peroxide for safety reasons, as higher concentrations can cause damage. Keep in mind that hydrogen peroxide is most effective at whitening and lifting set-in colors but is not suitable for heavy grease or oil-based stains. For particularly tough stains on boards with textured surfaces, consider using a cutting board with feet to elevate the board during cleaning for better drainage and airflow. For oil-based stains that resist hydrogen peroxide, applying fractionated coconut oil after thorough cleaning can help condition the board and reduce the appearance of deeper discoloration. Using a non-abrasive cleaning pad helps prevent scratching the surface while maintaining hygienic conditions.
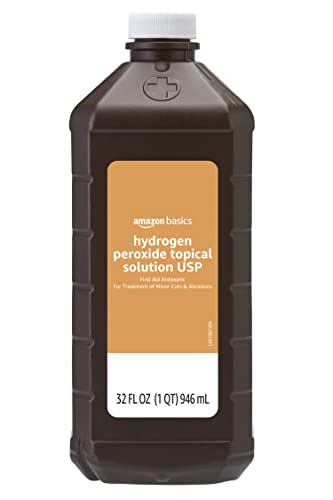
First aid antiseptic (32 fluid ounces); helps prevent the risk of infection from minor cuts, scrapes, and burns

FIRST AID ANTISEPTIC: 3% hydrogen peroxide first aid antiseptic medication in solution form; helps prevent the risk of infection from minor cuts, scrapes & burns

One 16-fluid ounce bottle of first aid antiseptic
Does Sunlight Whiten Plastic Cutting Boards?
Sunlight can indeed help fade stains and yellowing on white plastic cutting boards. To do this effectively, place the cleaned and soaked board in direct UV-rich sunlight for several hours or longer. This natural bleaching process works by breaking down stain compounds that cling to the plastic surface, gradually reducing discoloration.
For best results, wash the board thoroughly beforehand to remove any residual debris or food particles that could block the light. Position the board flat in direct sunlight, as shade or indirect light won’t provide enough UV exposure. Flipping the board halfway through ensures both sides are evenly exposed, promoting uniform whitening. Unlike glass boards, which can be prone to chipping and dull knives, plastic boards are softer and more forgiving on blade edges.
Keep in mind that sunlight has its limits: deep or stubborn stains like tomato sauce or curry may only lighten rather than fully disappear. Yellowing caused by age usually responds better to sunlight than deeply set-in marks. Be cautious with prolonged exposure, as excessive heat can warp the plastic. While sunlight provides a natural way to fade stains, repeated treatments may be necessary for serious discoloration. This method contrasts with premium wood care, where maintenance focuses on oiling and surface preservation rather than UV bleaching. For comparison, this approach to plastic upkeep differs from caring for knife blades, where durability and upkeep involve sharpening steel rather than relying on UV exposure.
When Kitchen Remedies (Lemon, Salt, Vinegar) Fail on Plastic Boards
When sunlight doesn’t fully restore your plastic board, stronger cleaning options are available. Pour 3% hydrogen peroxide directly onto the stain and let it sit for 5 to 10 minutes, or overnight if the discoloration is deep. For extra power, mix hydrogen peroxide with baking soda into a thick paste—you’re using a classic remedy that works well on stubborn stains. Gently scrub the area with a sponge, then rinse thoroughly with hot water. If the stain persists, a mild bleach solution—about 1 teaspoon per quart of water—can be applied for just a few minutes. Avoid soaking the plastic for too long, as this can cause discoloration. If no treatment lifts the stain, your board is likely worn out and needs replacing. Repeated scrubbing won’t fix scratches or ingrained stain marks; in such cases, the best option is to replace the plastic board altogether.
Common Mistakes That Make Stains Worse
Even well-intentioned cleaning efforts can backfire, making white plastic cutting boards harder to restore. One major mistake is letting stains sit too long because pigments from turmeric or tomato set into scratches and grooves almost immediately. Scrubbing with abrasive pads can also harm your board, roughening the plastic surface and creating microscopic traps for stains to settle in. For lasting protection, applying a food-safe wax can help seal the surface against future stains. Using excessively hot water can warp the plastic, leading to uneven zones that trap residue and make stains more difficult to remove. To prevent deep scratches, consider using a kitchen knife with built-in sharpener to maintain a sharp blade that cuts cleanly rather than gouging the surface. Pay attention to knife grooves—those deep cuts can collect pigment and resist cleaning efforts. Poor surface maintenance, such as incomplete cleaning and failing to dry thoroughly, allows leftover moisture to dry into permanent shadow marks. Unlike plastic, wood cutting boards have natural antimicrobial properties, but they require different care to avoid cracking. To avoid worsening discoloration, skip harsh tools and heat, and focus on gentle, thorough cleaning and drying.
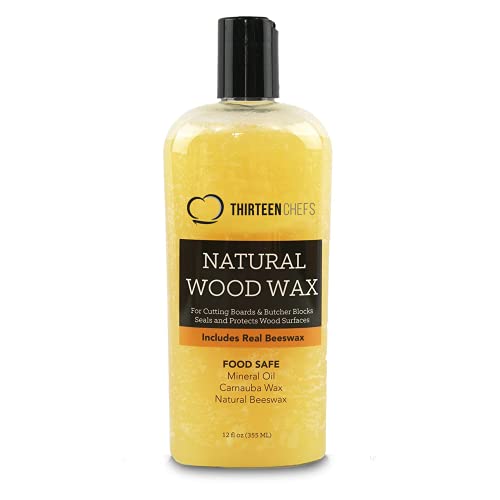
FOOD GRADE WAX - Our premium cutting board conditioner is made with genuine beeswax, carnauba wax and food grade mineral oil. Great for maintaining wooden cutting boards, wood countertops, butcher blocks, table tops, utensils, salad bowls and all other wood products that come in contact with food.

Revitalizing blend prevents drying and cracking of hardwoods and bamboo

Protects Wood from Drying and Cracking - Wood wax, butter, cream, and conditioner is ideally formulated to protect your wooden tools for a lifetime.
How to Sanitize Without Damaging Your Plastic Board
Always wash your plastic cutting board with hot, soapy water before sanitizing. This removes grease and food residue, ensuring the surface is clean enough for effective sanitization. Scrubbing thoroughly is essential because sanitizers work best on visibly clean surfaces. Rinse with clear water afterward to remove any soap residue before proceeding.
For chemical sanitization, mix one tablespoon of unscented bleach in one gallon of water. Make sure the entire surface stays wet for several minutes to effectively kill germs. Afterward, rinse well and let the board air-dry. Alternatively, you can use 3% hydrogen peroxide as an eco-friendly disinfectant—simply pour it over the surface, wait a few minutes, then rinse thoroughly. Unlike sharpening stones made for knives, both methods are gentle on plastic and won’t cause scratches. For added durability, high-quality Japanese folding knives often feature stainless steel blades that resist corrosion better than standard kitchen knives.
If your plastic board is dishwasher-safe, you can skip chemical sanitizers altogether. The high heat combined with dishwasher detergent provides effective sterilization without extra scrubbing, which can reduce wear over time. Just double-check that your board is labeled heat-tolerant to prevent warping during the dishwasher cycle. Unlike bamboo, plastic boards should never be treated with mineral oil, which is used to prevent drying and cracking in wood.
When It’s Time to Replace a Severely Stained or Scratched Board
If your cutting board shows deep scratches, permanent stains, or persistent odors, it’s time to replace it. No amount of scrubbing can fully remove stains or smooth out grooves that harbor bacteria. When your fingernail catches in a scratch or groove, that’s a clear sign the material’s durability has been compromised. Similarly, stubborn discoloration from onions or meat that won’t go away indicates trapped residue, making proper sanitation impossible.
Follow these guidelines: replace your board if deep scratches, stains, or odors remain after cleaning. Cracks, rough patches, or visible shavings also signal severe damage beyond repair. If cleaning no longer seems effective, it’s best to discard the board. Continuing to use a damaged board risks cross-contamination and foodborne illness. Once wear affects the structure or sanitation ability, it can’t be safely restored. Toss it out and start fresh to ensure your kitchen remains safe and hygienic.

【Easy Grip Handle & Non-Slip】Non-slip rubber feet keep these cutting boards stay on the countertop and handle makes Viretang plastic cutting board easy to grip, the handle is also convenient to hang it on the wall, space saving kitchen set.

ULTRA DURABLE STRENGTH: 3rd Party Tested for durability, thick cutting boards have a nonporous surface that won’t splinter or peel, unlike wood cutting boards or a bamboo cutting board; deep grooves help catch messy juices while our strong design is built to last in your home to handle tough messes

