Tired of storing your knives in a cluttered drawer? A safer, more organized option is often simple and budget-friendly.
You can craft a knife holder using common household materials that keeps your blades accessible and secure.
In this guide, you’ll discover easy DIY solutions like rice-filled canisters, bamboo skewer grips, and wooden block slots.
Keep reading to learn how to create a clutter-free, safe knife storage area at home.
Stop Using the Drawer: Why You Need a Knife Holder
Storing knives in a drawer is a safety risk and can damage the blades. A dedicated knife holder keeps blades separate, reducing the chance of accidental cuts and making it easier to grab the right tool quickly. Proper storage also protects the edges by preventing unnecessary rubbing against other metal tools or drawer liners that can dull the blades fast. Additionally, a holder allows for airflow around the knives, keeping them dry and hygienic by preventing moisture buildup and bacteria growth. This not only maintains the knives’ sharpness but also promotes safer, cleaner food prep. For optimal blade protection, consider a high-quality knife block that securely holds each knife in its own slot. For serrated knives specifically, a holder keeps their scalloped edges protected and ready for use with a specialized sharpening rod. Any knife holder you choose will better preserve your blades, but pairing it with a quality set of whetstones ensures long-term edge retention through proper sharpening. Upgrading to a knife holder is a simple way to boost safety, preserve your knives’ quality, and save time when cooking.
Quick and Cheap: The Rice-Filled Canister Hack
Yes, filling a wide-mouth jar or vase with uncooked long-grain white rice is an effective quick fix for knife storage. Use about 5 to 10 pounds of rice, which costs around five dollars, and fills the container nearly to the top. Push each knife blade upright into the rice to hold it securely, making sure to space blades apart for safety. This method cushions the edges, reducing the risk of dings and scratches, while controlling moisture and rust through the rice’s natural desiccant properties. Be sure to replace the rice if it becomes damp or dirty, as moisture can compromise the setup. This is a temporary solution designed for convenience, not a permanent storage method, but it can serve well in a pinch. To ensure your knives stay sharp, you can periodically use a mild dish soap to clean the blades and dry them thoroughly before reinserting them into the rice. Unlike linseed oil, which food-safe drying oils can protect wooden cutting boards when properly cured, rice serves solely as a dry, absorbent medium for knife storage. For those who hunt and need a reliable blade, skinning knives are specifically designed to handle the delicate work of removing hide without damaging the meat.
Build a Universal Knife Holder With Bamboo Skewers
Using bamboo skewers arranged in a dense, parallel bundle creates a versatile knife holder that can securely grip blades of any size without the need for pre-cut slots. This technique mimics the function of a butcher block by using friction to hold knives safely in place. For maintaining the knives stored in this holder, you can learn how to sharpen serrated knives using the correct angle and technique. Start with a tall, sturdy container such as a jar or box, slightly taller than your longest knife blade. Fill the container with hundreds of skewers, pointed down, pressing them in tightly until there are no gaps. A denser bundle increases friction, holds knives more securely, and helps keep them organized. A wider base on the container prevents tipping during use. For safety, ensure that knife tips stay well above the container’s bottom to avoid striking the base. Smooth any sharp edges on the container to protect your hands. Insert blades by pressing them into the side of the skewers and then downward, trimming the tops flush for a clean finish. This approach offers flexible, accessible storage that keeps all your knives stable and easy to reach. To keep the holder itself hygienic, regularly clean the skewers and container using a safe cleaning product that works well on wood.

Package Content: The package includes 2 pack of food skewer holder with 45 holes, 90 holes total. Each measures 11.5''L x 7.8''W x 1''H, providing you with ample space to display a variety of appetizers.

Minimal Scandinavian design wooden knife block holds up to 18 knives; stylish, functional, and compact for any kitchen countertop while keeping knives organized and easily accessible.

🔥 Set of 2 kebab skewer rack is 11.8 inches long x 1.4 inches wide x 1.7 inches high. By elevating your skewers off the heat surface, the racks keep the food off the BBQ grates so it doesn't burn or stick.
Choose the Right Material for Your DIY Knife Holder
Stainless steel makes a durable frame for your knife holder because it resists corrosion and cleans easily. However, it is too abrasive for direct contact with blades and can dull or damage them. Using stainless steel as a surrounding frame or structure, rather than as the interior contact surface, helps protect your knives while maintaining strength and longevity. This approach is similar to how high-quality vegetable choppers use separate materials for durability and blade protection.
Acrylic is ideal if you want a modern look and clear visibility for quick knife identification. Its transparency allows you to see your entire collection at a glance. Still, acrylic scratches easily, which can diminish its appearance over time, and it does not provide good protection for your knife edges. To get the best of both worlds, consider combining a sturdy exterior material like stainless steel with a soft, blade-friendly interior surface such as rubber or foam. This layered approach ensures durability, easy maintenance, and safe storage for your knives. This design logic mirrors the careful material separation seen in expensive charcuterie boards, where structural materials are kept separate from food-contact surfaces to balance durability and protection.

HEAVY DUTY MAGNET: ultra sturdy and strong design; 10 by 1.7 inch magnetic knife holder can hold up to six pounds of total weight; designed to hold a variety of sizes of your knives and tools
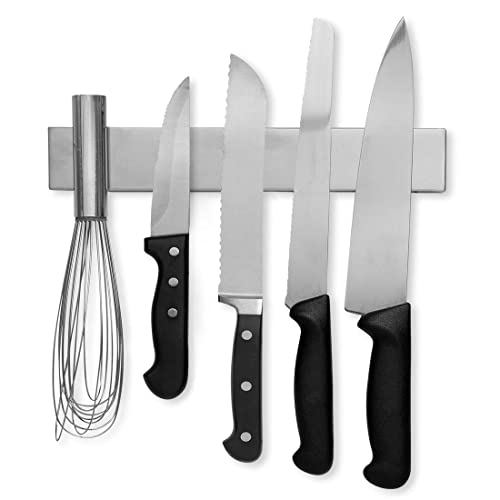
★ Powerful Magnetic Knife Bar: This modern magnetic knife bar is covered in an elegant, satin finished, high grade stainless steel that will compliment your kitchen décor.

【LARGE CAPACITY KNIFE BLOCK】This stainless steel knife stand can hold up 12 kitchen knives plus 1 kitchen scissors (it can hold more than 12 knives with small and thin handle). With 18 slots for knives, you can easily put in or take out them. Our knives storage caddy has 1.5 times space to hold knives than the others round/square universal block
How to Build a Simple Wooden Knife Block
To build a simple wooden knife block, start by cutting four main pieces of wood into a box-like structure. Each side panel should be approximately 10 inches long, 4.5 inches wide, and 3/4 inch thick to ensure sturdiness and appropriate size for your knives. To accurately position the knife slots, measure their placement from your first cut piece and replicate these measurements on the other matching panels. This step helps prevent the tips of your blades from hitting the bottom of the block when inserted. Use a table saw to cut kerfs for each slot, ensuring they are evenly spaced and straight. When assembling, attach the outer pieces to the inner panels using glue, centering them to balance the entire block. Clamp the assembly flat until the glue fully cures, which typically takes several hours. Remove any excess glue with a scraper immediately to keep the finish neat. After the glue is dry, sand all edges and corners smoothly to avoid sharp points, then finish the block with a natural oil or wood finish. A key advantage of this block design is that it securely holds santoku knives which benefit from the precise slot alignment. This coating helps the knives glide in smoothly without forcing, and it protects the wood from moisture and wear over time. For this project, choose a water-resistant glue to ensure the block holds up well in damp kitchen environments. Serrated knife edges require slightly wider slots to accommodate their scalloped teeth without catching on the wood. For additional stability during prep work, consider placing the finished block on a cutting board with feet to keep it elevated and dry.
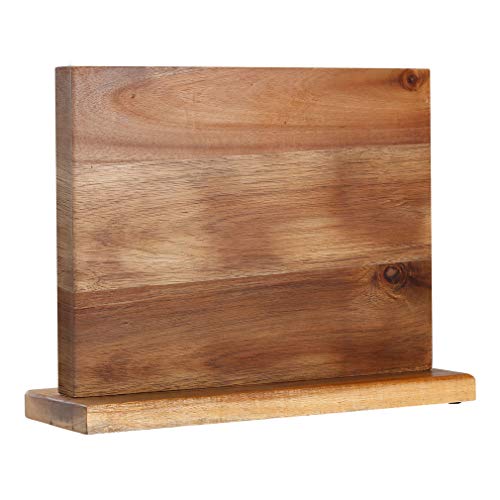
DOUBLE SIDED STRONG MAGNETIC SUCTION: Double-sided use, super capacity, high-grade magnetic support hidden in a strong and durable neodymium magnet, strong adsorption, no need to worry about falling off, strong and durable environmental protection, to create a green and environmental protection kitchen.

25 Slots Large Capacity- The Knife Block without knives hold up to 20 Knives, include scissors and a sharpening rod, a special 4.3 inches slot for your meat cleaver and some universal knife slots, it can meet all your need for kitchen. Please measure the size of your kitchen counter under the cabinets before order. We advise it should be more tall than 15 inches
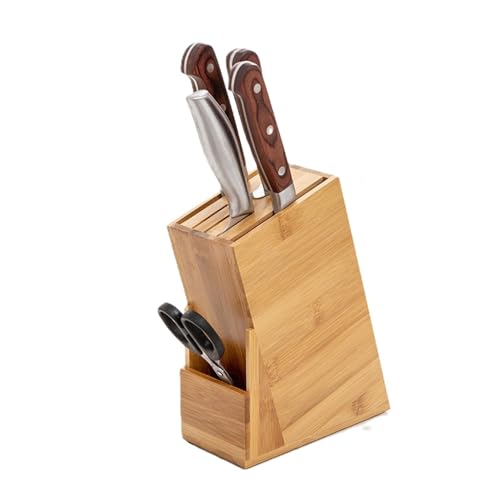
Size: The size of this knife holder is 7.09×8.66 inches, the 6 universal slots of various size can store different knives including bread knives, steak knives, as well as 1 sharpening rod slot, and 2 scissor slots.
DIY Magnetic Knife Rack: Build From Scratch
Building a magnetic knife rack from scratch is a simple weekend project. Start with a piece of dense hardwood, such as oak or poplar, which provides a clean appearance and sturdy mounting surface. You’ll need neodymium magnets, which should be embedded in a routed groove or drilled cavities to hold your blades securely. Pay close attention to magnet polarity; alternating north-south orientation along a row minimizes repelling forces during assembly, making the installation smoother. Use a router or Forstner bit to create recesses that allow the magnets to sit flush with the wood’s surface, ensuring a strong grip for your knives. Maintaining a consistent sharpening angle is critical for curved blades, as the same principle applies to keeping scissors and knives in top condition. Selecting a top silverware set with steak knives ensures your stored cutlery matches in quality and performance. For optimal blade retention, pair this project with a properly sharpening Arkansas stone to maintain a keen edge on your tools before mounting. Finish by sanding the wood up to 220 grit and applying a clear protective coat. Mount the rack securely to the wall with screws before loading and storing your knives.

UPGREDED VERSION KNIFE MAGNETIC STRIP: The two ends of the knife magnetic strip no drilling are completely sealed by laser welding, which makes it moisture-proof, waterproof and rust-proof in the real sense

Heavy Duty and Solid magnetic knife holder: Our magnetic knife holder for refrigerator contains powerful magnets and has an extremely strong grasp for holding kitchen knives, utensils securely and evenly. Best knife magnet strip with no risk of the knives falling off, even for heavy cleaver and knives with heavy handles. Great magnetic knife holder for fridge to help with kitchen organization and storage. Not compatible with non-austenitic stainless steel or other non-magnetic materials. Please test your knives with a magnet before purchase.
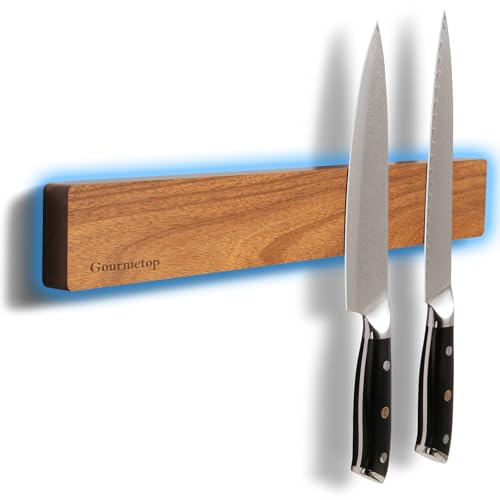
Securely Hold without Slipping: Built with dual-row powerful knife magnets strategically positioned across the 16-inch knife holder, this knife magnetic strip keeps heavy cleavers, Damascus knives, chef knives and kitchen shears securely in place without slipping — no dead zones, no weak spots. Powerful magnets keep kitchen knives firmly in place, yet make them easy to grab with a smooth pull whenever you need them
DIY Drawer Inserts With Cork for Hidden Storage
To create DIY drawer inserts with cork for hidden blade storage, start by measuring your drawer’s height. Cut cork strips to this length using a utility knife and a metal ruler for precise, clean cuts. Pack the cork strips vertically inside the drawer to form adjustable channels. These soft cork dividers lock blades between them, preventing edges from touching and reducing corrosion risk. You can customize the spacing between channels to fit various handle widths, including ornate vintage handles. Adding a bottom cork pad prevents blades from scratching the drawer floor. This straightforward method keeps your knives secure and accessible, all while maintaining a clutter-free appearance inside a cabinet. For added convenience, the partial blade visibility of this design helps you quickly identify the right knife without rummaging. To ensure the cork strips hold firm over time, consider applying wood glue to the base of each strip before packing them in place. Unlike abrasive dishwasher cycles, cork’s gentle grip preserves knife edge integrity by avoiding metal-on-metal contact. For regular maintenance, simply wipe the cork down with mild dish soap and warm water to keep the surface hygienic, just as you would a plastic cutting board.
Choose Your Design Based on Knife Count and Counter Space
Choose your knife holder based on your collection size and available counter space. For small collections of 4 to 5 knives, opt for a compact block with 5 to 7 slots to save space. Medium collections of 8 to 15 knives work well with a larger block, but remember that slot shapes can limit capacity—large blades may not fit into all slots, so count on a few fewer spots. Large collections of 16 to 20 knives require bigger holders, but ensure their footprint won’t crowd your prep area. Wide bases can take up significant space, so measure carefully.
If your counters are small, consider moving storage off the work surface entirely. Wall-mounted magnetic strips or under-cabinet racks are excellent options to free up space. For those who prefer a block, choose one under 4 inches wide to avoid clutter. Always measure width, depth, and height before purchasing—standard blocks are usually 9 to 11 inches wide. Check your upper-cabinet clearance to ensure the chosen holder fits comfortably. Match your knife capacity needs and available counter space to select the right design—don’t rely solely on advertised capacity figures. The Drop Block under cabinet rack, for example, uses heavy-duty hinges and magnets to keep knives secured when lowered and can be raised to hide them out of sight for added safety in households with children.

5-SLOT KNIFE HOLDER: Easily fits in most kitchen drawers to offer a practical solution for storing and organizing kitchen knives, keeping them easy to view and access
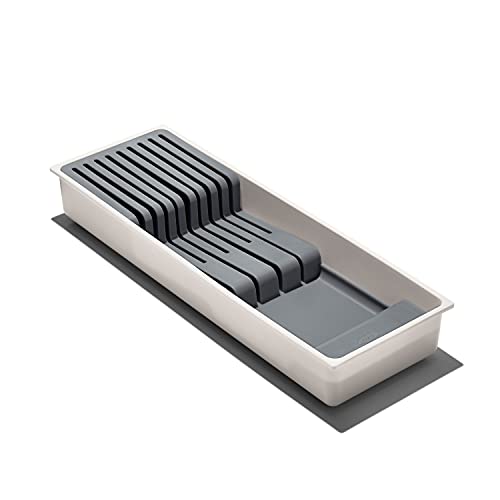
Safely and neatly store knives in drawers to save countertop space

FITS MOST STANDARD KITCHEN DRAWERS: Measures 17 x 5.3 x 2 inches and slides flat into most standard kitchen drawers. Measure first, a 17 inch drawer holds 11 knives while a 22 inch drawer fits all 16, and leave room above the 2 inch base for the handles
3 Safety Rules Every DIY Knife Holder Needs
To ensure safety with your DIY knife holder, follow these three essential rules. First, store knives out of children’s reach by mounting your holder high or inside a locked cabinet. Avoid placing it near counter edges or in spots accessible to small hands that might climb or pull.
Second, keep each knife’s sharp edge isolated. Use individual slots, sheaths, or blade guards instead of storing knives loosely in drawers. This prevents accidental cuts from shifting or rattling blades.
Third, dry knives thoroughly before storage. Moisture invites rust and surface damage, so never place a damp blade into a holder or rack. Make sure storage components are also dry to prevent trapped moisture. Following these rules will help your DIY knife holder stay safe and in good condition over time.
How to Finish and Maintain Your DIY Knife Holder
To finish and maintain your DIY knife holder, proper care for each material is essential to ensure safety and longevity. For wood, apply a thin coat of food-safe mineral oil once a month. Wipe away any excess to prevent stickiness, and when the surface becomes dull, lightly sand it with fine-grit paper before reapplying the oil. This keeps the wood sealed and resistant to moisture.
For metal, clean stainless-steel parts with a soft, damp cloth followed by thorough drying to prevent rust. Address any rust spots immediately with a gentle scrub or rust remover and dry completely afterward. Check the mounting screws and magnetic strips regularly, tightening loose hardware and remagnetizing if you notice a loss of magnetic strength.
Clean the knife slots with a brush or compressed air to remove debris and dust. Wipe the exterior surfaces with a damp cloth that is not soaked to avoid water damage. Avoid using abrasive cleaners on finished surfaces, as they can scratch or degrade the material. Keeping the wood oiled and the metal dry will preserve your knife holder’s appearance and functionality over time.